

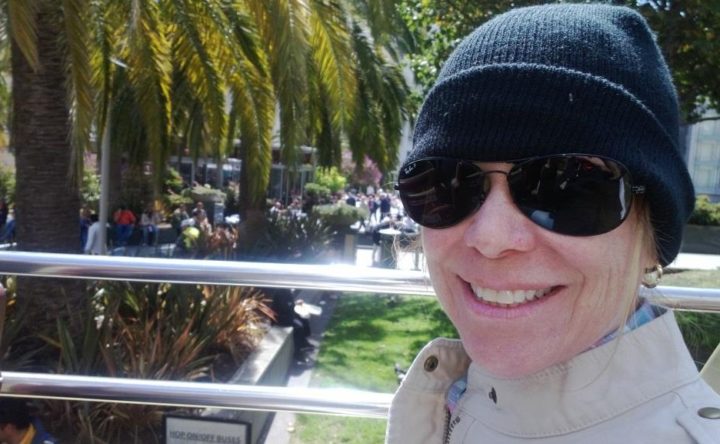
 Mike Steine
Travel Photography
How to Take Travel Photos in Moving Vehicle
Whether on a private bus tour, a London hop-on-hop-off bus, or a Big Bus Tour, taking travel photos is challenging. Taking travel photos from a moving vehicle is about planning ahead. Secondly, take lots of photos and my third piece of advice is practice before you leave home!
Tips for Taking Travel Photos When Moving
To have any possibility of reliably taking good photos from a moving bus (or train), you will need a camera that allows you to adjust your shutter speed and ISO for best results.
Some people think it is more enjoyable just to watch the scenery go by rather than taking endless photos. Some tourists want to discuss the ongoing adventure while traveling on the bus. But, if you want to take great photos from the bus, try the tips below.
DSLR Lens
To take good pictures from a moving vehicle requires a shutter speed and ISO level adjustment on your camera. Your camera should have a zoom lens with 35 to 100mm. If you buy a circular polarizing filter this makes a crisp photo. Don’t buy a polarizing lens made with an aluminum frame because this type of lens easily bends when you screw it onto the camera lens and will distort the image rather than improve the image.
Three types of camera deliver the best pictures. The three types are a DSLR, mirrorless interchangeable lens camera or as a minimum, a bridge camera with a built-in zoom lens. These three types of cameras will give you the highest quality photo from a moving vehicle.
Another item to purchase is fast media. Media is the memory card that stores the photo. I like B&H for media, cameras, and lens purchases. It is crucial that your camera and media maximize the media’s speed to freeze the movement.
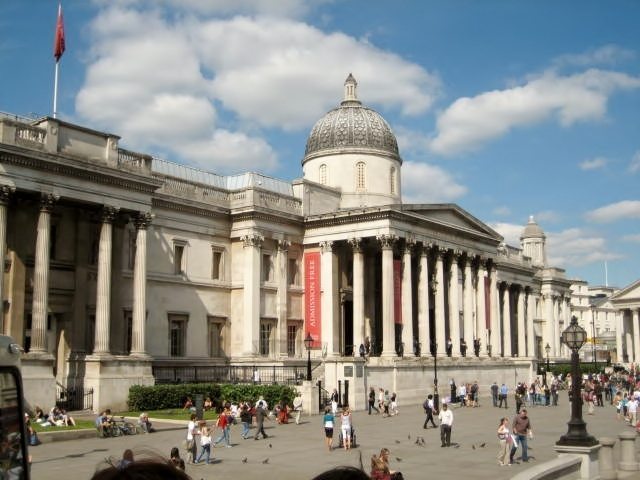
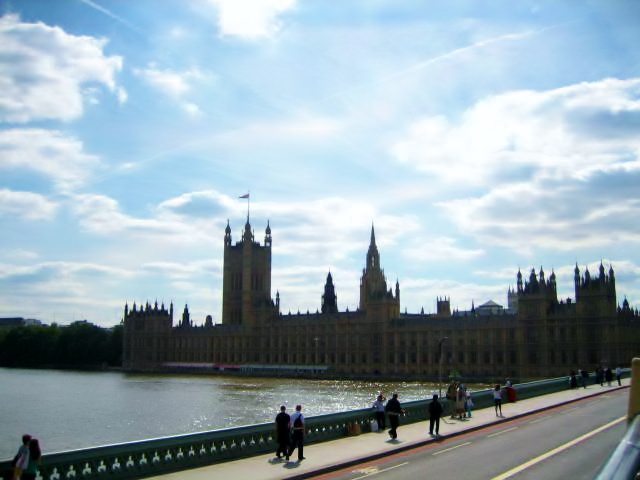
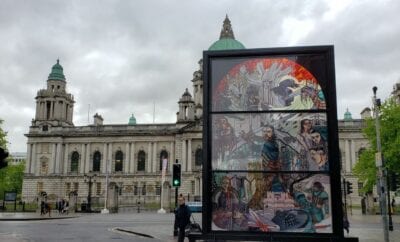
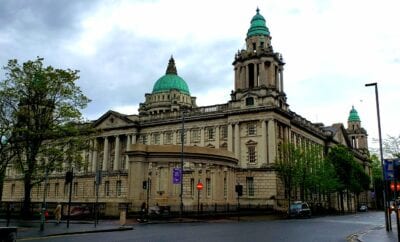
These photos taken in London are from a Big Bus Tour
Take Memorable Photos on a Bus
- Sit in the best place, and by best place, I mean a place that doesn’t have a lot of people blocking your view. The front of the vehicle is ideal because you can take pictures through the windshield. If the bus or train has one, the rear window this is the next best place. You can make images of a bored tour bus driver from here and the landscape. The image above was taken in London on the Big Bus Tour.
- When sitting by a side window make sure there is no pillar to interfere with your picture taking. On a double-deck, open-top bus sits on top as far to the back as possible if you aren’t going to rain. Cameras are like cats, they hate to get wet. In any case, bring a sturdy plastic bag to wrap up the camera if the weather becomes inclement.
- Plan ahead. Ask the driver which side of the bus is the best place to sit. Explain to him that you want to take photos and ask him if most of the sites are on the right or left side of the bus. If you know where the best scenery is in advance, try to sit in the front of the bus in a window seat.
- Finally, one place to avoid sitting is on the sunny seats on the bus unless. Bright sun makes it harder to take a good photo. But, if the scenery is there, that s where you will sit.
- Always try to photograph before noon to avoid the bright noon light and the brilliant midday sun.
Prep Your Camera
- Get your camera ready before you start moving. When I have my camera with me, the lens cover is off, prepared to take a picture.
- Set the camera to aperture priority (usually called A) and set it to f8. Set the ISO high enough to produce a minimum shutter speed of a 1/500. To test this, set the ISO setting to 800, point the camera at the window and shot. Look at the image. This test helps you set the correct shutter speed.
- Next, adjust the ISO up or down to get the desired clear photo and with a broad range of color. Avoid very high ISO settings as this will produce grainy pictures. I try to shot at 200-250 and inside a building at 650-800.
Practice Makes Perfect
- Experiment to see what works best. If you or the camera are not ready for this configuration, leave the camera in automatic mode (P or whatever) and, if possible, increase the ISO setting to 800 or higher.
- Shooting photos through a window make new challenges. Most cameras are focusing beyond the glass of the window. If you have a polarizing lens filter on the camera, take it off. Leave on the UVA protective lens filter.
- To get rid of the reflection in the window put on a circular polarizing filter. If the camera does not use lens filters, don’t despair, just shoot through window reflections.
- When using a Polarizing lens filter, try this tip. Hold the camera up to the window and turn the circular-polarizing filter while looking through camera viewfinder until reflections are minimal.
- Make sure its the same size as your lens so it fits the lens.
- I recommend not buying a filter made of aluminum because of the bend in the filter frame, and because it doesn’t keep the shape, it will alter the image.
- The environment is always changing as are reflections and lighting.
- As the day goes on, the lighting conditions continually change so evaluate if its time to change filters.
Polarizing Filter Warning
- If the polarizing filter produces a dark matrix pattern, take it off. Also, remove your polarized sunglass when using a polarizing filter. Check to see if the autofocus system will quickly focus on objects outside the window. If not turn on manual focus and set it to just short of infinity. Zoom out to 50 or 60mm.
Vibration Reduction for Stabilizing Movement
- If your camera has vibration reduction, (VRM setting) always turn it on.
Be Ready to Take the Shot
- Pay attention and anticipate picture taking opportunities. Look ahead to see what is coming up. When a picture-worthy scene presents itself, do not hesitate, pick up the camera, compose the shot, and shoot. When in doubt, shoot. All you are consuming is some battery power and memory space.
- You cannot have too many pictures! Shoot and review, and shoot some more. Your family and friends may not want to see them all but, you will have them for your pleasure.
- Finally, remember to periodically check your latest photo and adjust the camera settings as needed.
Avoid Telephoto Shots
- Try to avoid telephoto shots beyond about 120mm while moving. They will be blurry. Take shots at 90 degrees from the window.It is best to angle forward as far as possible without adding the side of the bus to the picture. Take photos facing backward, this works too. However, your neck will get tired of twisting.
When Taking Travel Photos – Lens Hood Off
- Leave any lens hood off and hold the lens a close to the window as possible without touching it. Use your arms to brace yourself to minimize camera motion. Trees, utility poles or street light poles may be zooming by and interfering with your pictures.
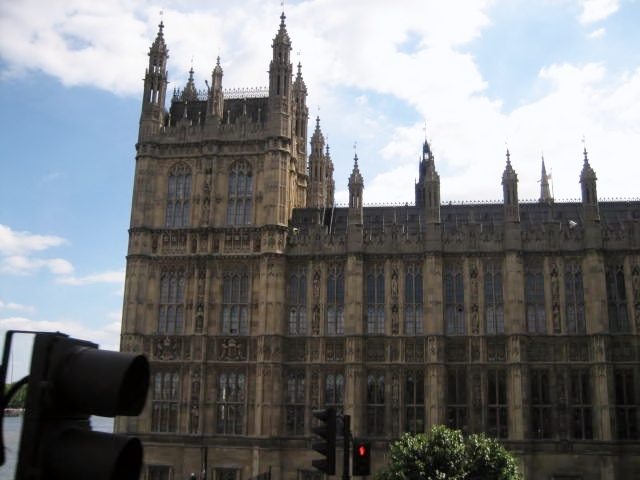
Some photos will have stop lights, telephone poles and utility lines in them, but keep shooting; you will get a good one too.
When to Snap Travel Photograph
- Most importantly, you can take lovely pictures on sunny and bright overcast days. If it is cloudy or rainy, you may be able to get decent pictures by increasing the ISO setting to maintain a fast shutter speed. Images will have dull colors and may be blurry. Also, window reflections may become intolerable. Dusk, dawn, and night pictures from a moving bus are problematical. There just is not enough light to permit a high shutter speed, and photos may be dark and blurred unless you have an excellent camera. But, if the bus stops, you may be able to get usable shots in well-lit cities.
I want to thank Mike Steine for his help and guidance on this post. I couldn’t have posted this without him.
See my Travel Photos of my favorite places and to learn more about how to taking travel photos, read this too.
Copyright © 2026 Capetown-Rio, Inc. USA. All rights reserved. Republishing is allowed only with written permission. All photography rights on this page belong to Capetown-Rio, Inc. and the author. Do you have a question, business proposal, or speaking opportunity? Please contact me here.


2 Comments
You must be logged in to post a comment Login